Installation
To be able to work on a Python project on the micro:bit, you need a few bits of software.
- First of all, you need to install Python. The newest version can be downloaded from the python homepage. Download and install it.
- In order to compile python into micro python you have to install the VS Code extension micro:bit (phoniccanine.micro-bit). Note that there are currently two extensions with the same name. One (buggy) variant is developed by the Norwegian Statped. Another one is developed by Joseph Fergusson. Please install the second.
- To enable a serial monitor for debugging install the extension "Arduino" (vsciot-vscode.vscode-arduino). This includes a good serial monitor.
Restart Visual Studio Code, and you should be ready to test and verify the installation.
Test script
Verify that everything is working as intended.
Create a new project directory in VS Code. Inside this directory, you must create a new python file you can name whatever you want. Paste the following lines of code into it.
# Testfile created by Stanley Skarshaug 16.07.2021 - Norway
# Used to test VSCode extensions for micro:bit development

from microbit import *

while True:
    print("skarshaugs.no")
    for x in range(3):
        display.show(Image.HEART_SMALL)
        sleep(500)
        display.show(Image.HEART)
        sleep(500)
        print("blog.skarshaugs.no")
    display.scroll('skarshaugs.no')
Save the file, open the command palette and run the following command palette:
Fetch micro:bit modulesThe command palette can be found under "View -> Command Palette..."
This will install python dependencies and create a couple of folders where it will install micro:bit library files that you will need to program the micro:bit.
If the fetch script ran successfully you are ready to flash the program to your micro:bit.
Flashing
Write the program to the microcontroller
Plug a micro-USB cable into your micro:bit and your computer and wait for the device to be recognized. No installation should be necessary on any modern OS.
After a little short wait, your OS should say that the micro:bit is ready to be used. Go back to Visual Studio Code and make sure you are viewing the test file you just created. Then run this command palette:
Build current file to Micro:BitThe UART activity LED on the micro:bit should flash rapidly, and after a short wait you will see a heart pulse three times, followed by a scrolling text displaying "skarshaugs.no" on the micro:bit built-in 5x5 LED-matrix.
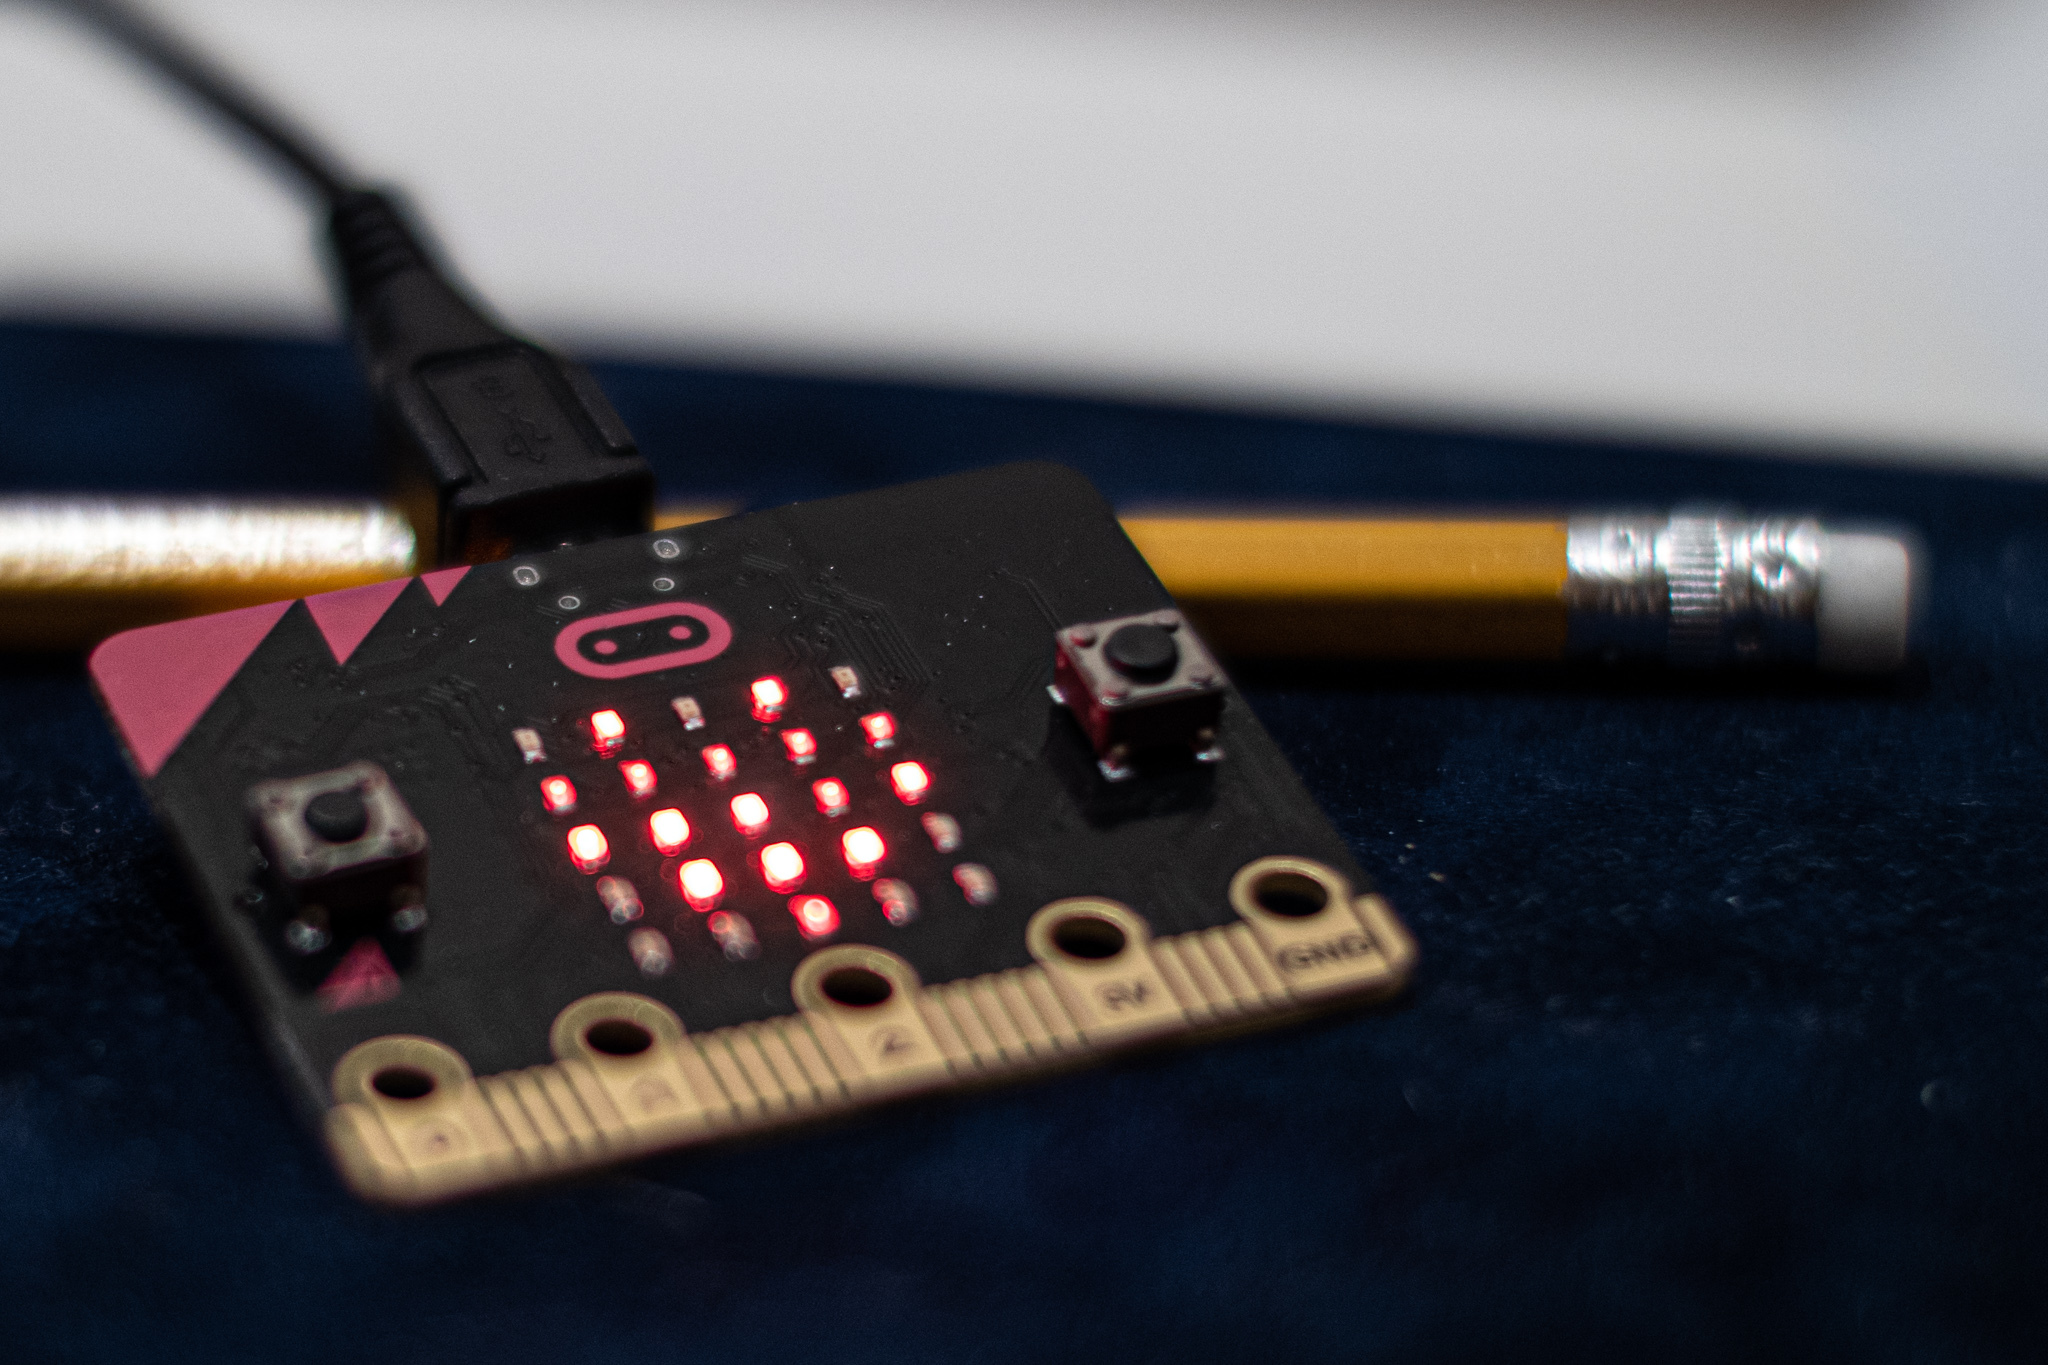
micro:bit running test script. Image © Stanley Skarshaug
Note that the script you just ran will automatically find the correct com-port or serial port that your micro:bit is connected to.
Congratulations, your first flash from VSCode was successful!
Serial monitor
Debugging for electronics projects
To be able to troubleshoot effectively you must have a serial monitor to read output text output from your micro:bit. For this purpose, we will make use of the Arduino serial monitor.
First, you have to select what com-port you want to communicate on. To do this, run the following command palette:
Arduino: Select Serial PortFrom the drop-down list, choose the correct port. Normally it will be the last one on the list. For me, on a Windows 10 computer, it was COM3. Yours may be something different.
To open the serial monitor, run this command palette:
Arduino: Open Serial Monitor

...
blog.skarshaugs.no
blog.skarshaugs.no
skarshaugs.no
blog.skarshaugs.no
blog.skarshaugs.no
blog.skarshaugs.no
skarshaugs.no
...
As you can see from the output above the serial monitor was able to connect to the micro:bit, and was able to read some output.
To make the serial monitor window auto-scroll, you must activate auto-scroll by clicking on the padlock icon.
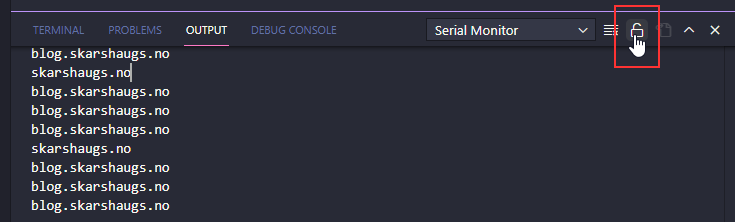
Enable auto-scroll in the CS Code serial monitor.
Congratulations, you now have a fully functional development environment using Visual Studio Code! This enables IntelliSense and syntax highlighting making development much more enjoyable compared to the online python editor provided by python.org. Happy coding!